Is Your Home Ready for the Big Chill?
Winter in Canada is no joke! When winter sets in, it is not just about staying warm—it’s about doing so efficiently and affordably. Insulation is your home’s first line of defence against the cold. It minimizes heat loss, maintains a stable indoor temperature, and reduces the strain on your heating system.
Rising heating bills, persistent drafts, and freezing indoor temperatures are common problems for homes without proper insulation. With Edmonton’s harsh winters, preparing your home with quality insulation is not just a luxury—it is a necessity.
Thermo Solutions offers spray foam insulation and blown-in insulation that are designed to tackle harsh Canadian winters. Let’s dive into why upgrading your home insulation for winter is one of the smartest investments you can make.
Why Is Insulation Crucial for Winter?
Fact: 20-30% of your home’s energy can escape through poorly insulated walls, roofs, and crawlspaces, according to Natural Resources Canada.
Key Benefits of Winter Home Insulation:
- Energy Savings: A well-insulated home requires less heating, cutting down energy bills.
- Enhanced Comfort: Say goodbye to cold drafts and uneven room temperatures.
- Environmental Impact: Reducing energy usage lowers your home’s carbon footprint.
- Home Longevity: Insulation helps prevent moisture buildup, mould, and structural damage.
What’s the Best Way to Insulate Your Home for Winter?
Proper insulation is the key to making your home comfortable, energy-efficient, and winter-proof. Among the various options available, spray foam insulation stands out as a top choice. Its versatility, durability, and high performance in low temperatures make it ideal for homes in cold climates.
Some of the key benefits of spray foam insulation include:
- Reduced Heat Loss
Poorly insulated homes lose heat through air leaks, walls, and poorly insulated attics. Closed-cell spray foam insulation forms an airtight barrier, preventing heat from escaping and keeping your home warm and energy-efficient.
Fact: Natural Resources Canada explains – basements can account for about 25 percent of a home’s total heat loss.
- Pipe Protection
Freezing temperatures can cause pipes in basements or crawlspaces to freeze and burst, leading to expensive repairs. Insulating these areas with spray foam prevents chilly air from reaching the pipes, safeguarding your home from water damage.
- Structural Strength
Spray foam not only insulates but also strengthens your home’s structure. Its rigid properties add stability to walls, increasing your home’s overall durability and value.
- Energy Savings
By reducing heat loss, spray foam helps your furnace work less, leading to significant energy savings.
Insight: Homeowners can save up to 20% on heating bills annually by upgrading their insulation.
Read More Here: 7 Signs You Need An Insulation Upgrade
Types of Home Insulation We Offer
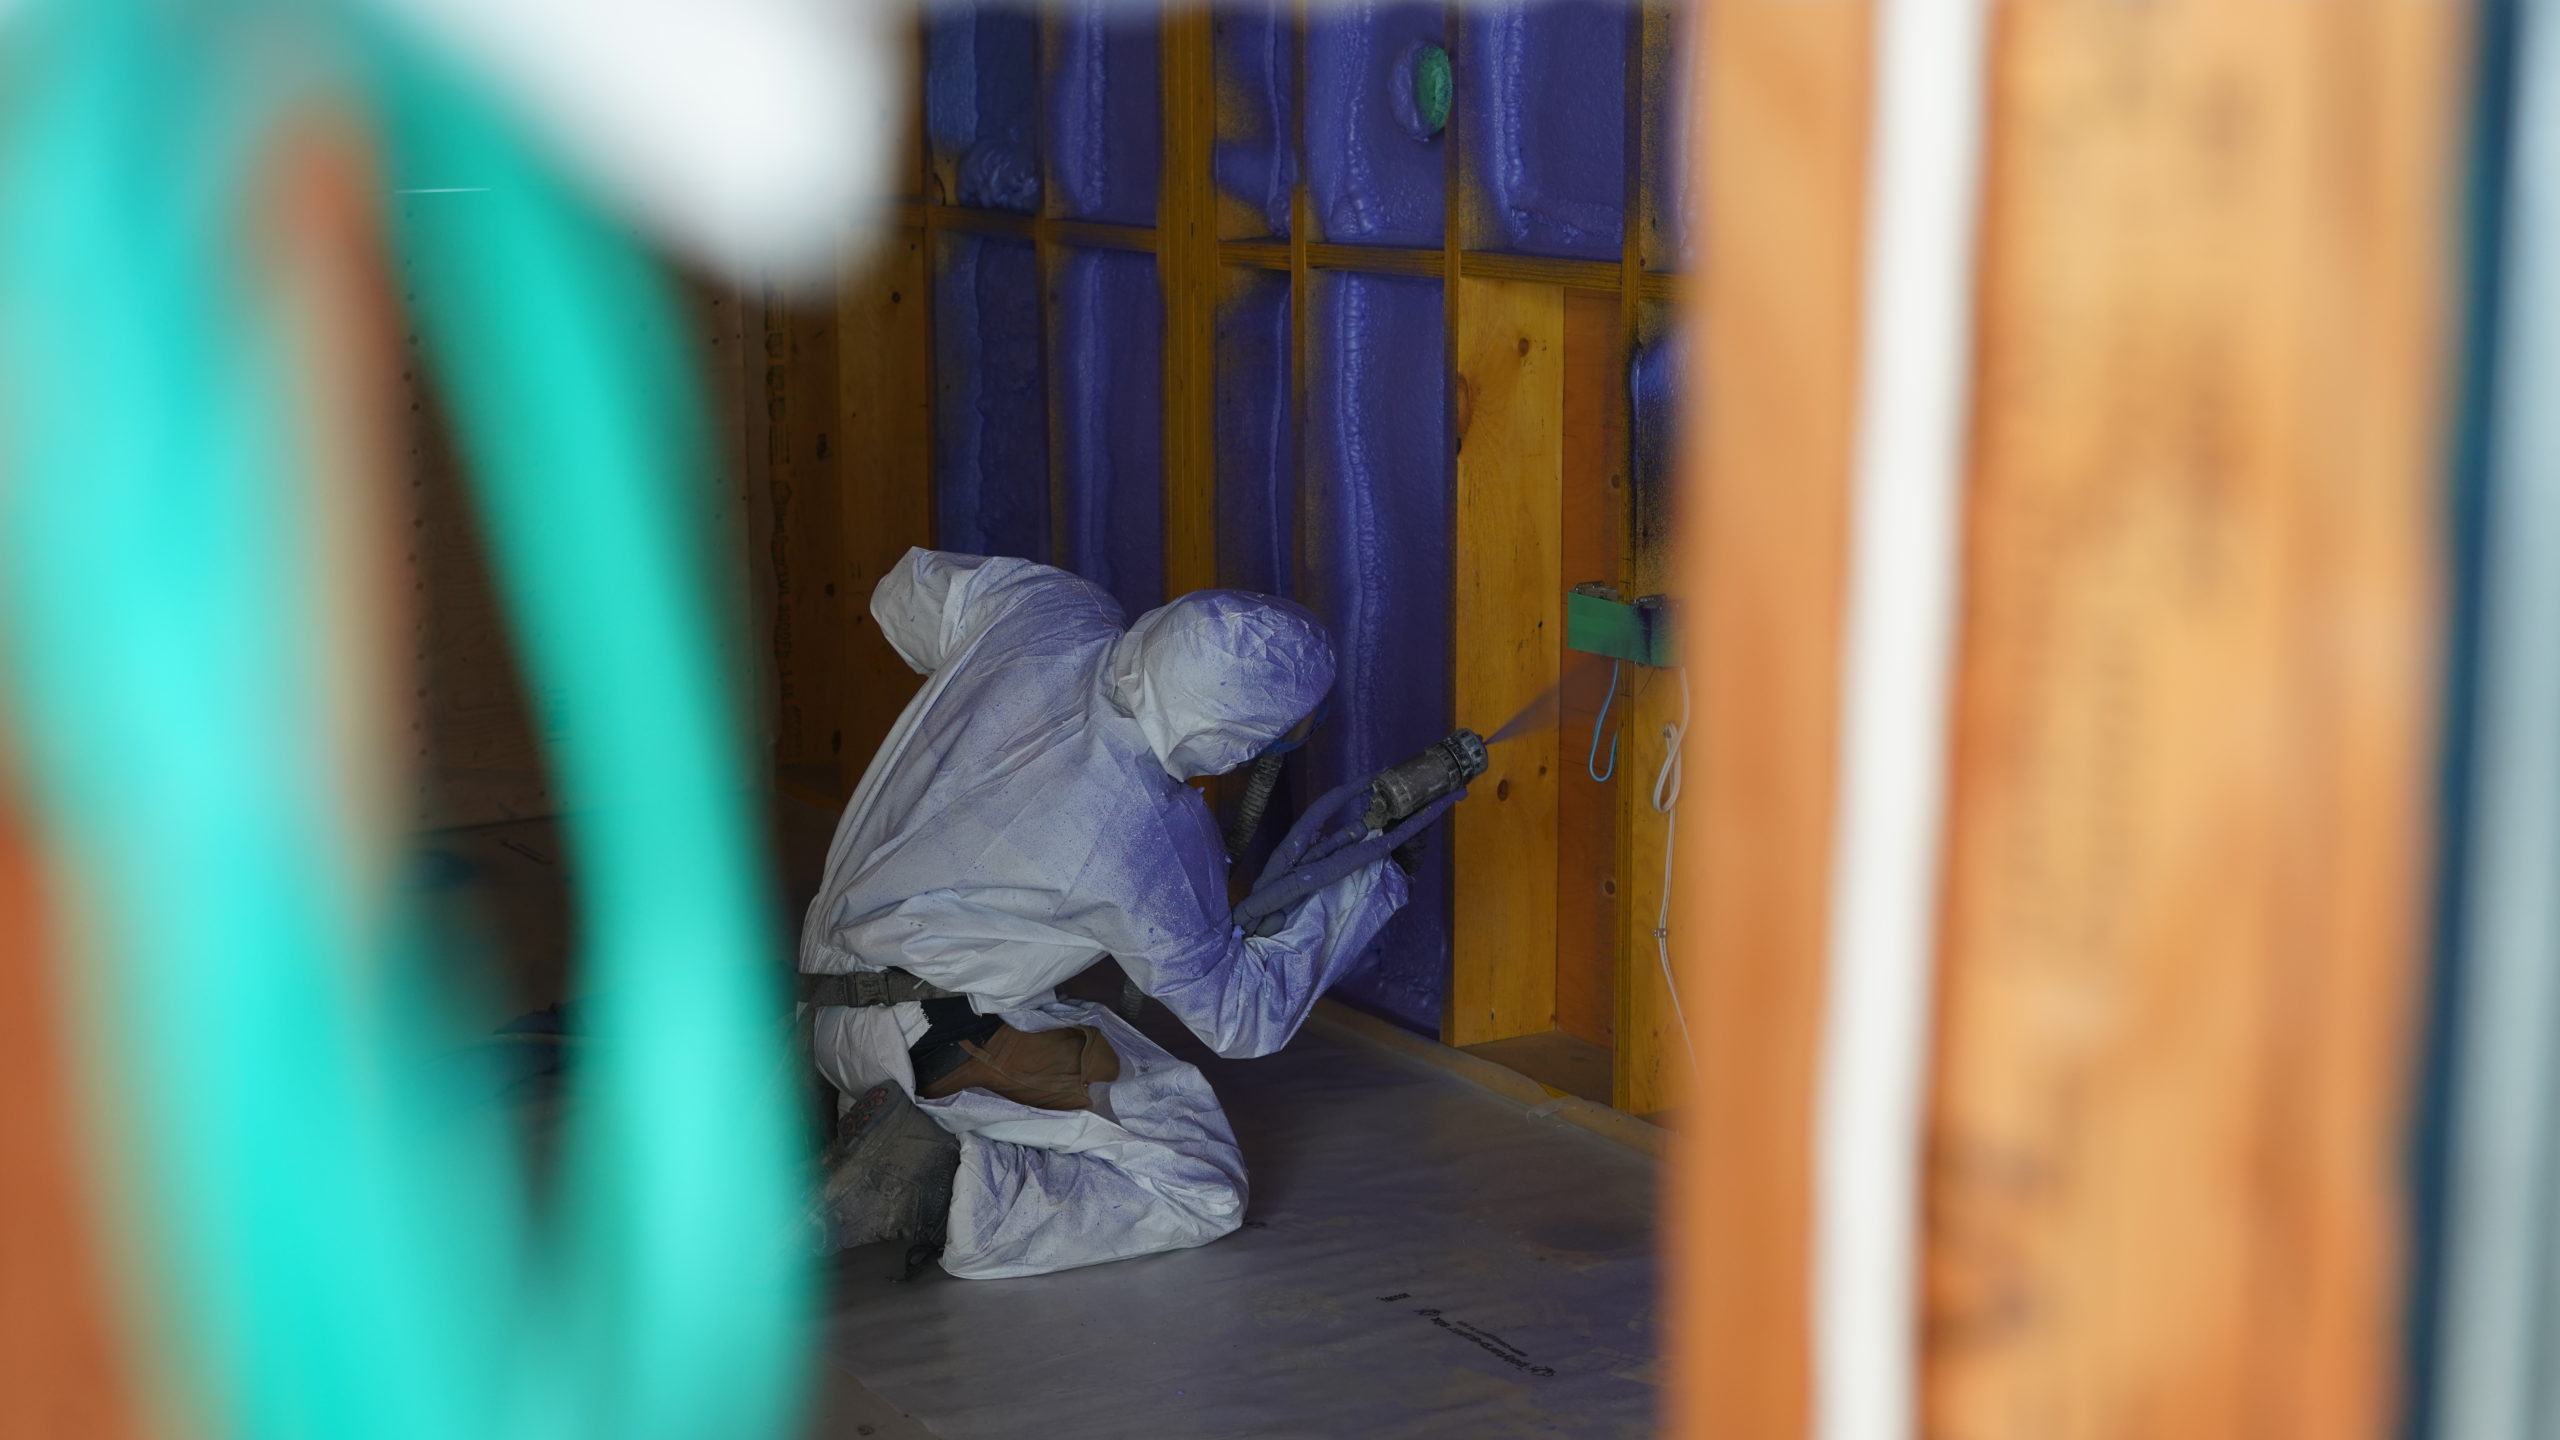
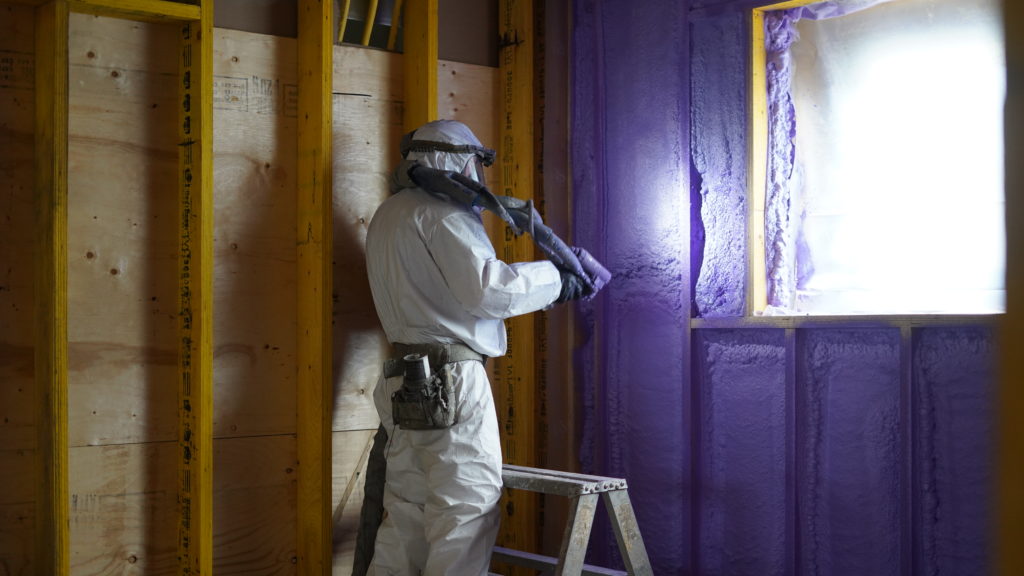
Spray Foam Insulation
Spray foam insulation is a high-performance insulation material that expands upon application, creating an airtight seal that eliminates drafts and minimizes heat loss. Its versatility makes it ideal for insulating attics, crawlspaces, basements, and exterior walls, ensuring maximum energy efficiency and comfort, especially in cold climates like Edmonton.
Thermo Solutions provides two options tailored to unique needs, each designed to offer distinct benefits depending on your insulation needs.
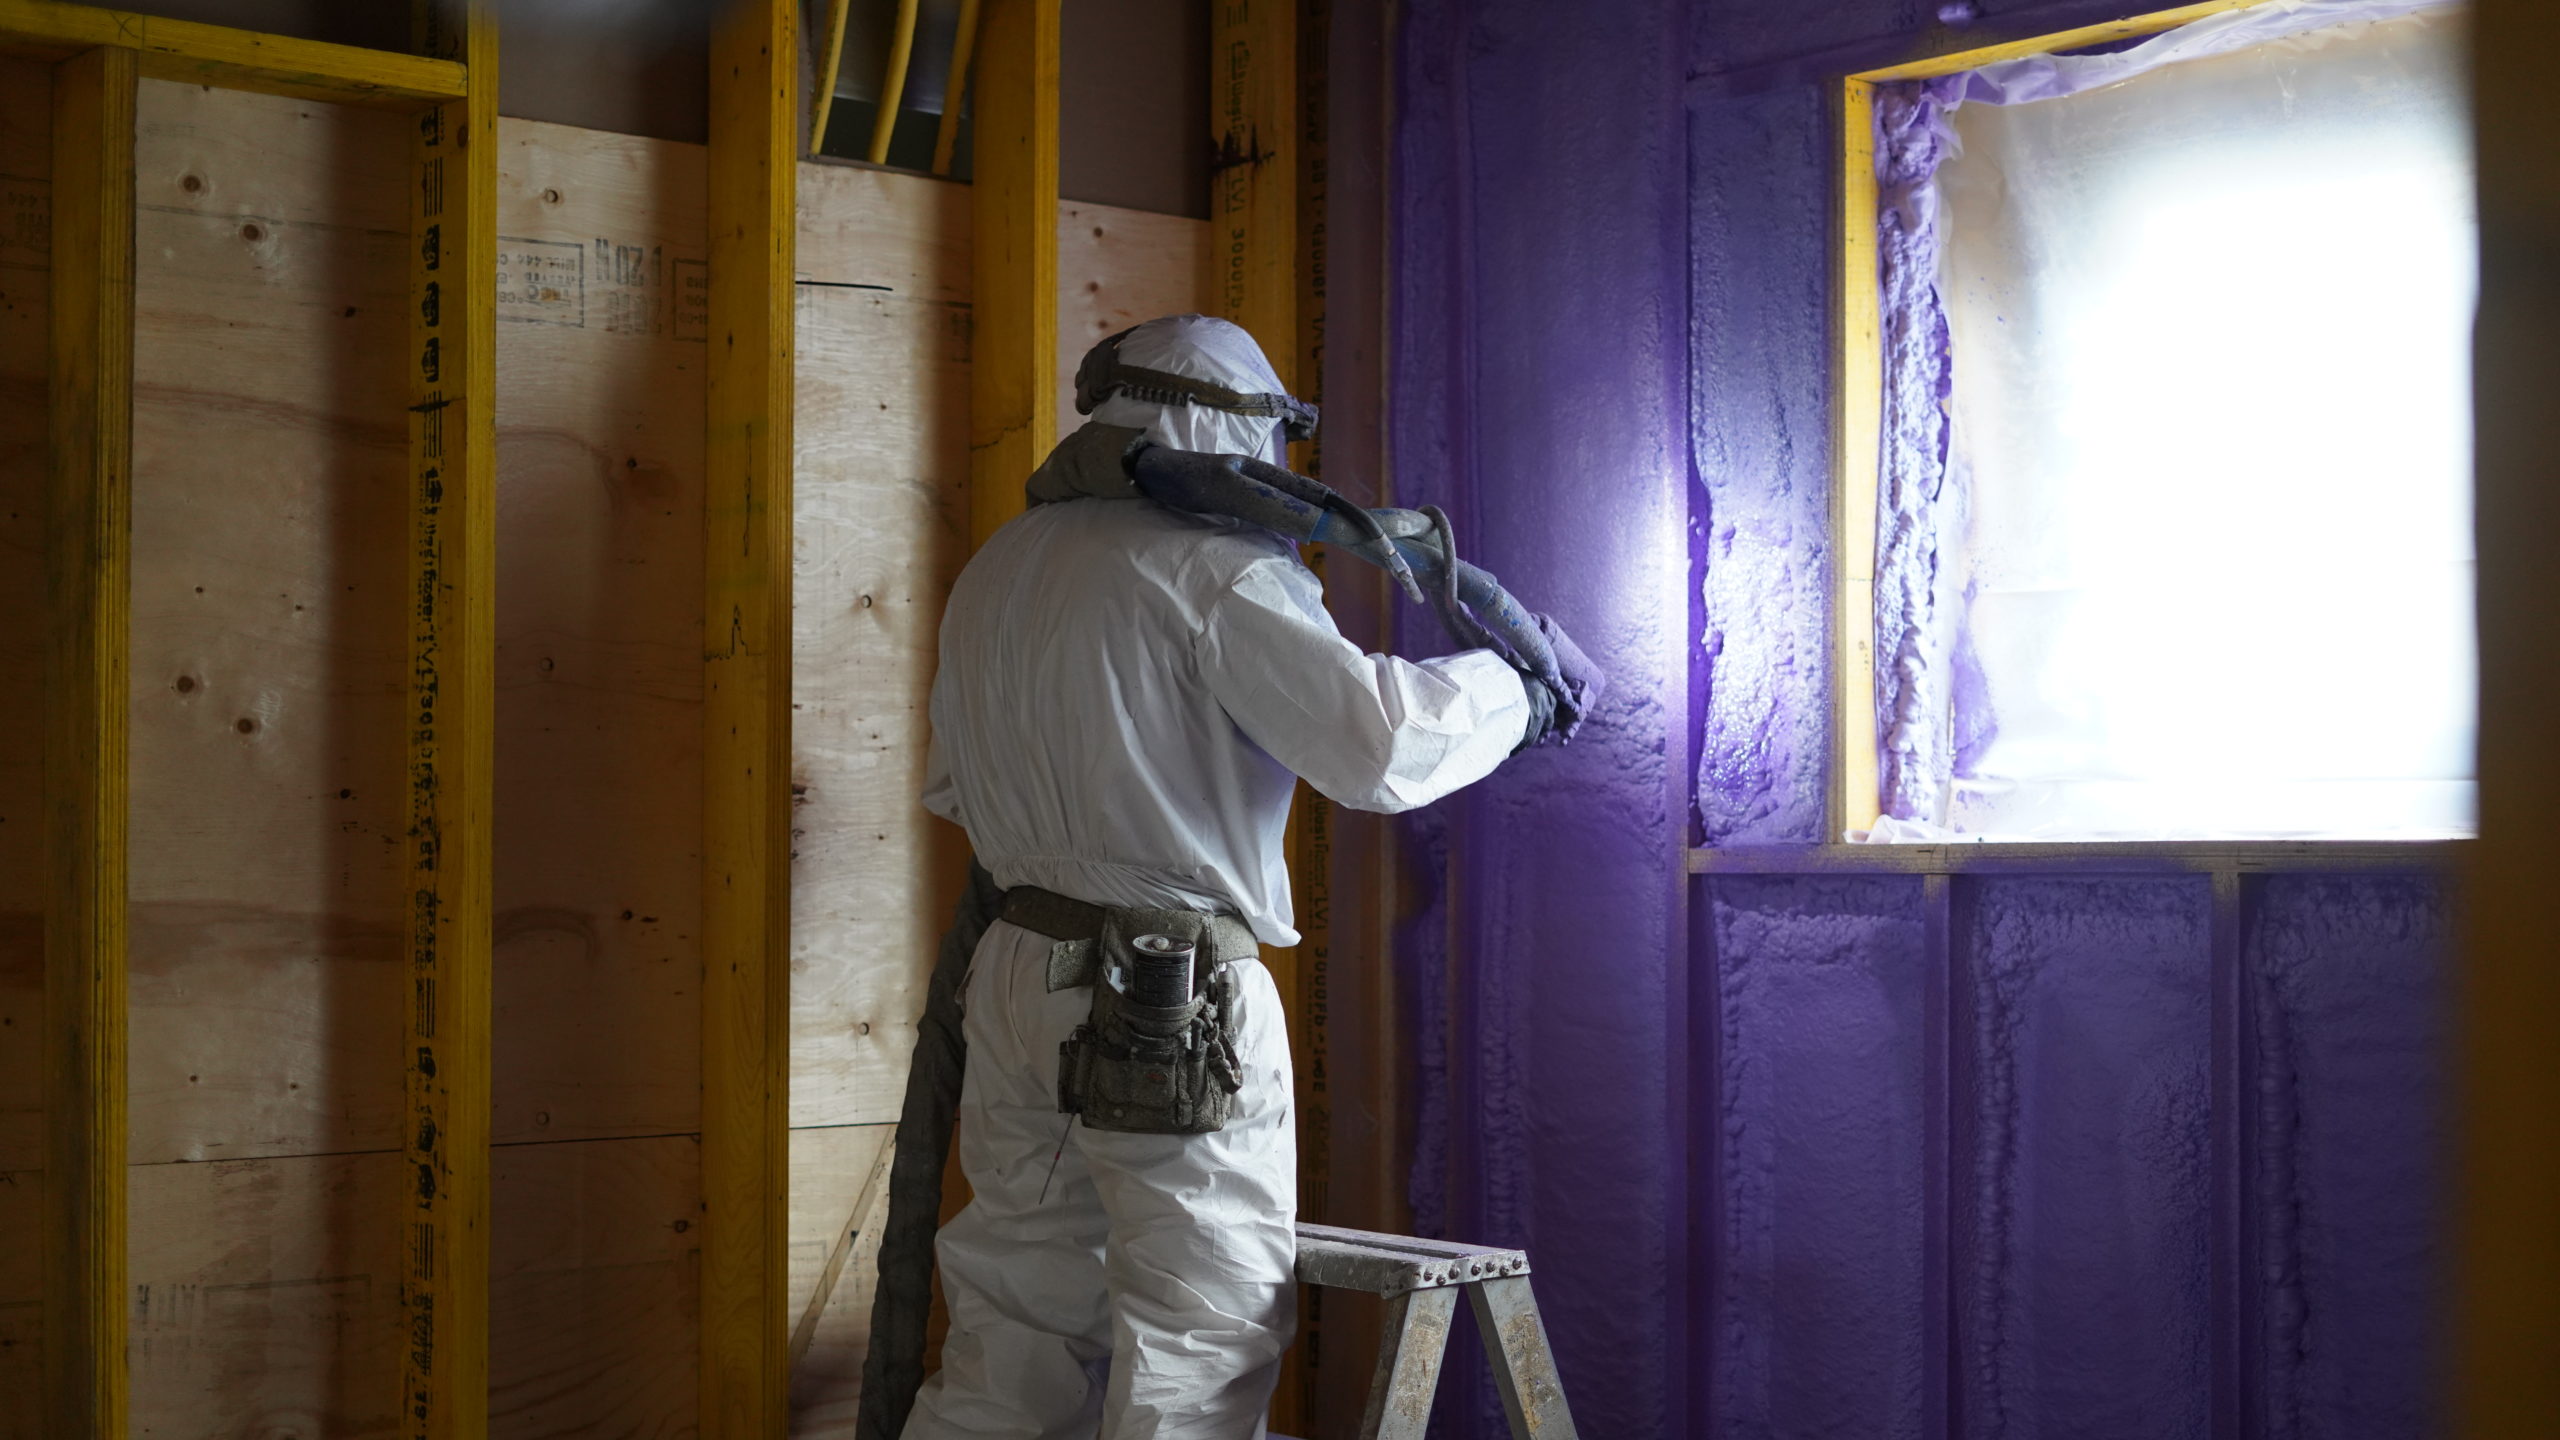
½ lb Spray Foam (Open Cell)
- Expanding, Flexible Insulation: 1/2lb spray foam insulation rapidly expands to fill gaps and cracks, providing excellent air sealing and insulation.
- Eco-Friendly Solution: This water-blown foam minimizes environmental impact while boosting your home’s energy efficiency in one step.
- Healthier Indoor Environment: 1/2lb foam reduces air leaks, creating a more comfortable, quieter, and healthier home atmosphere.
- Energy and Cost Savings: Improved insulation can reduce energy bills, potentially reducing heating and cooling costs by up to 50%.
- Permeable Barrier: The 1/2lb spray foam forms a flexible air barrier while allowing water vapour permeability, protecting your home, and preventing moisture buildup. For technical specifications or specific requirements, contact our spray foam experts today!
- Installation: 1/2lb is applied by spraying pressurized, heated, and mixed liquid components onto a suitable construction surface. It then expands approximately 100:1 in seconds to provide a flexible foam blanket of millions of tiny air cells, filling building cavities, cracks, and crevices in the process. It adheres to most construction materials, insulating and sealing out air infiltration.
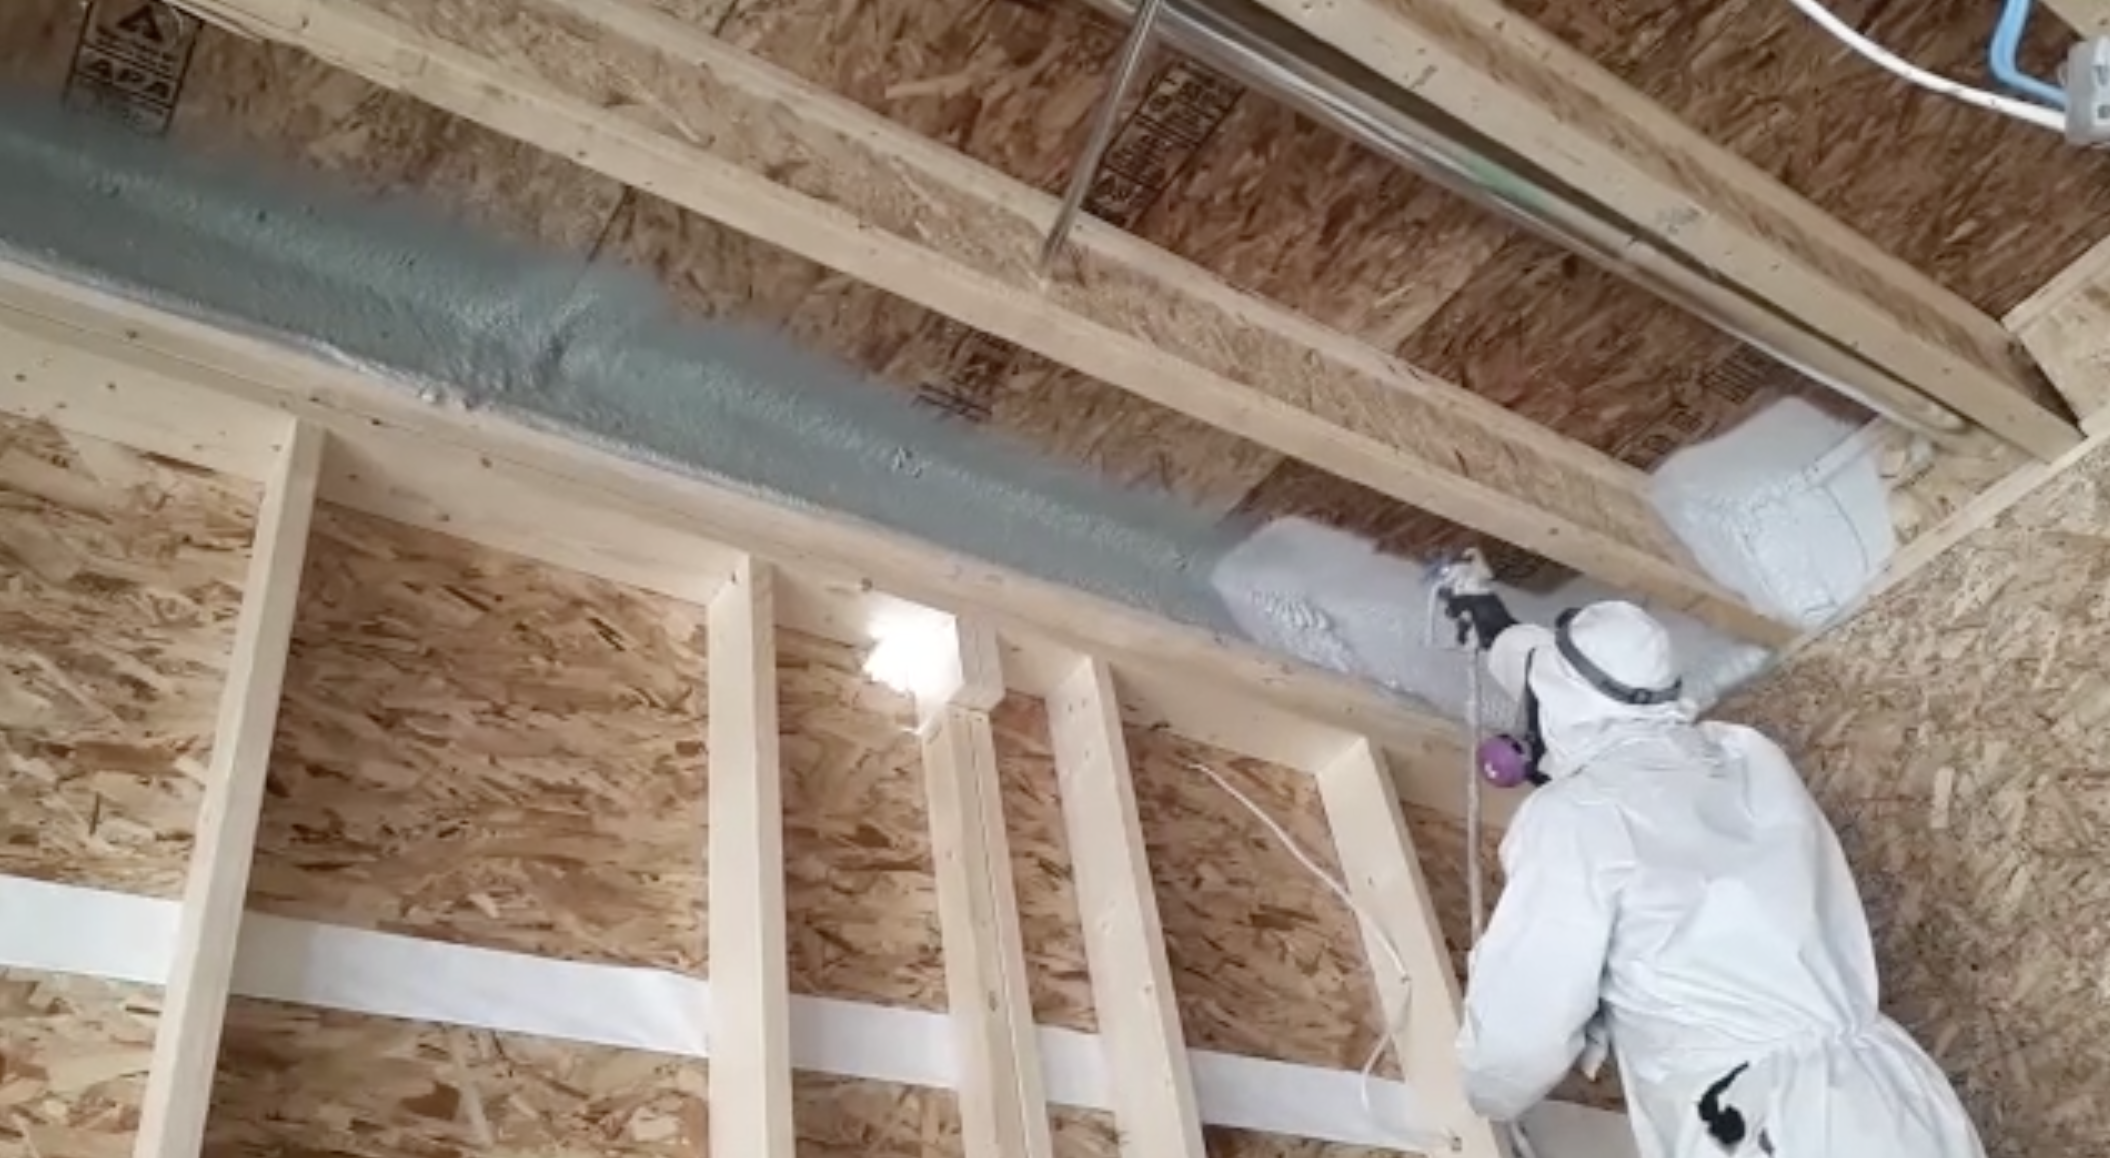
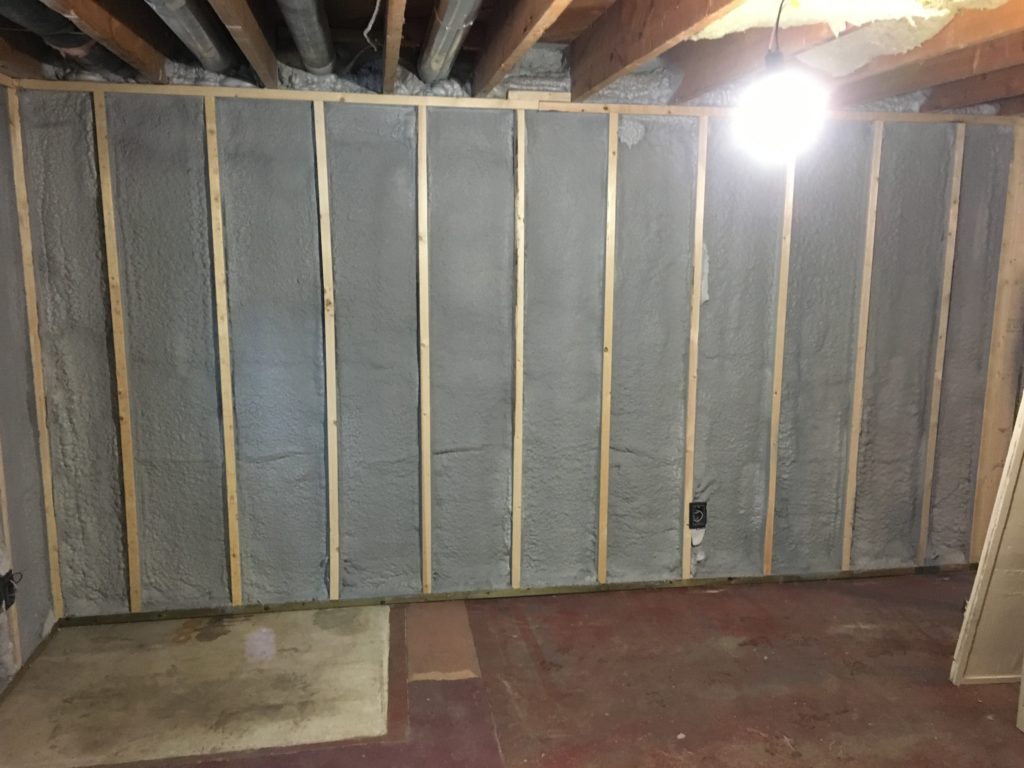
2lb Spray Foam (Closed Cell)
- Dense, Effective Insulation: 2lb spray foam is a high-density insulation that hardens and insulates better than open-cell spray foam. Thus, making it more suitable for larger exterior walls, roofs, and ceilings.
- All-in-One Solution: This product insulates and seals air leaks, providing a vapour barrier, making it ideal for your home’s energy efficiency.
- Stronger & Complete Building Protection: The rigid spray foam insulation hardens and provides strength to existing home structures creating a protective envelope around your home, keeping out moisture, drafts, and temperature swings, making them future-ready.
- Lower Energy Bills: By keeping air from leaking in or out, 2lb spray foam helps reduce heating and cooling costs while making your home more comfortable.
- Approved Vapour Barrier Product: 2lb spray foam is an approved vapour barrier, reducing moisture diffusion through insulation. Contact us for technical specifications on areas needing additional poly or specific requirements.
- Installation: 2lb spray foam is applied by spraying a heated, pressurized mix of liquid components onto construction surfaces. Within seconds, it expands to create a solid barrier made up of millions of tiny, closed cells, effectively filling cavities and sealing cracks. It adheres to most surfaces with ease. Heat may be necessary during application in colder months, and some surface preparation might be required for optimal results.
Read More Here: What is the difference between ½lb and 2lb spray foam?
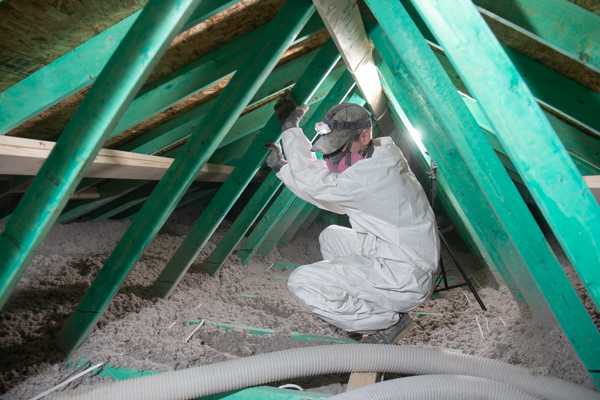
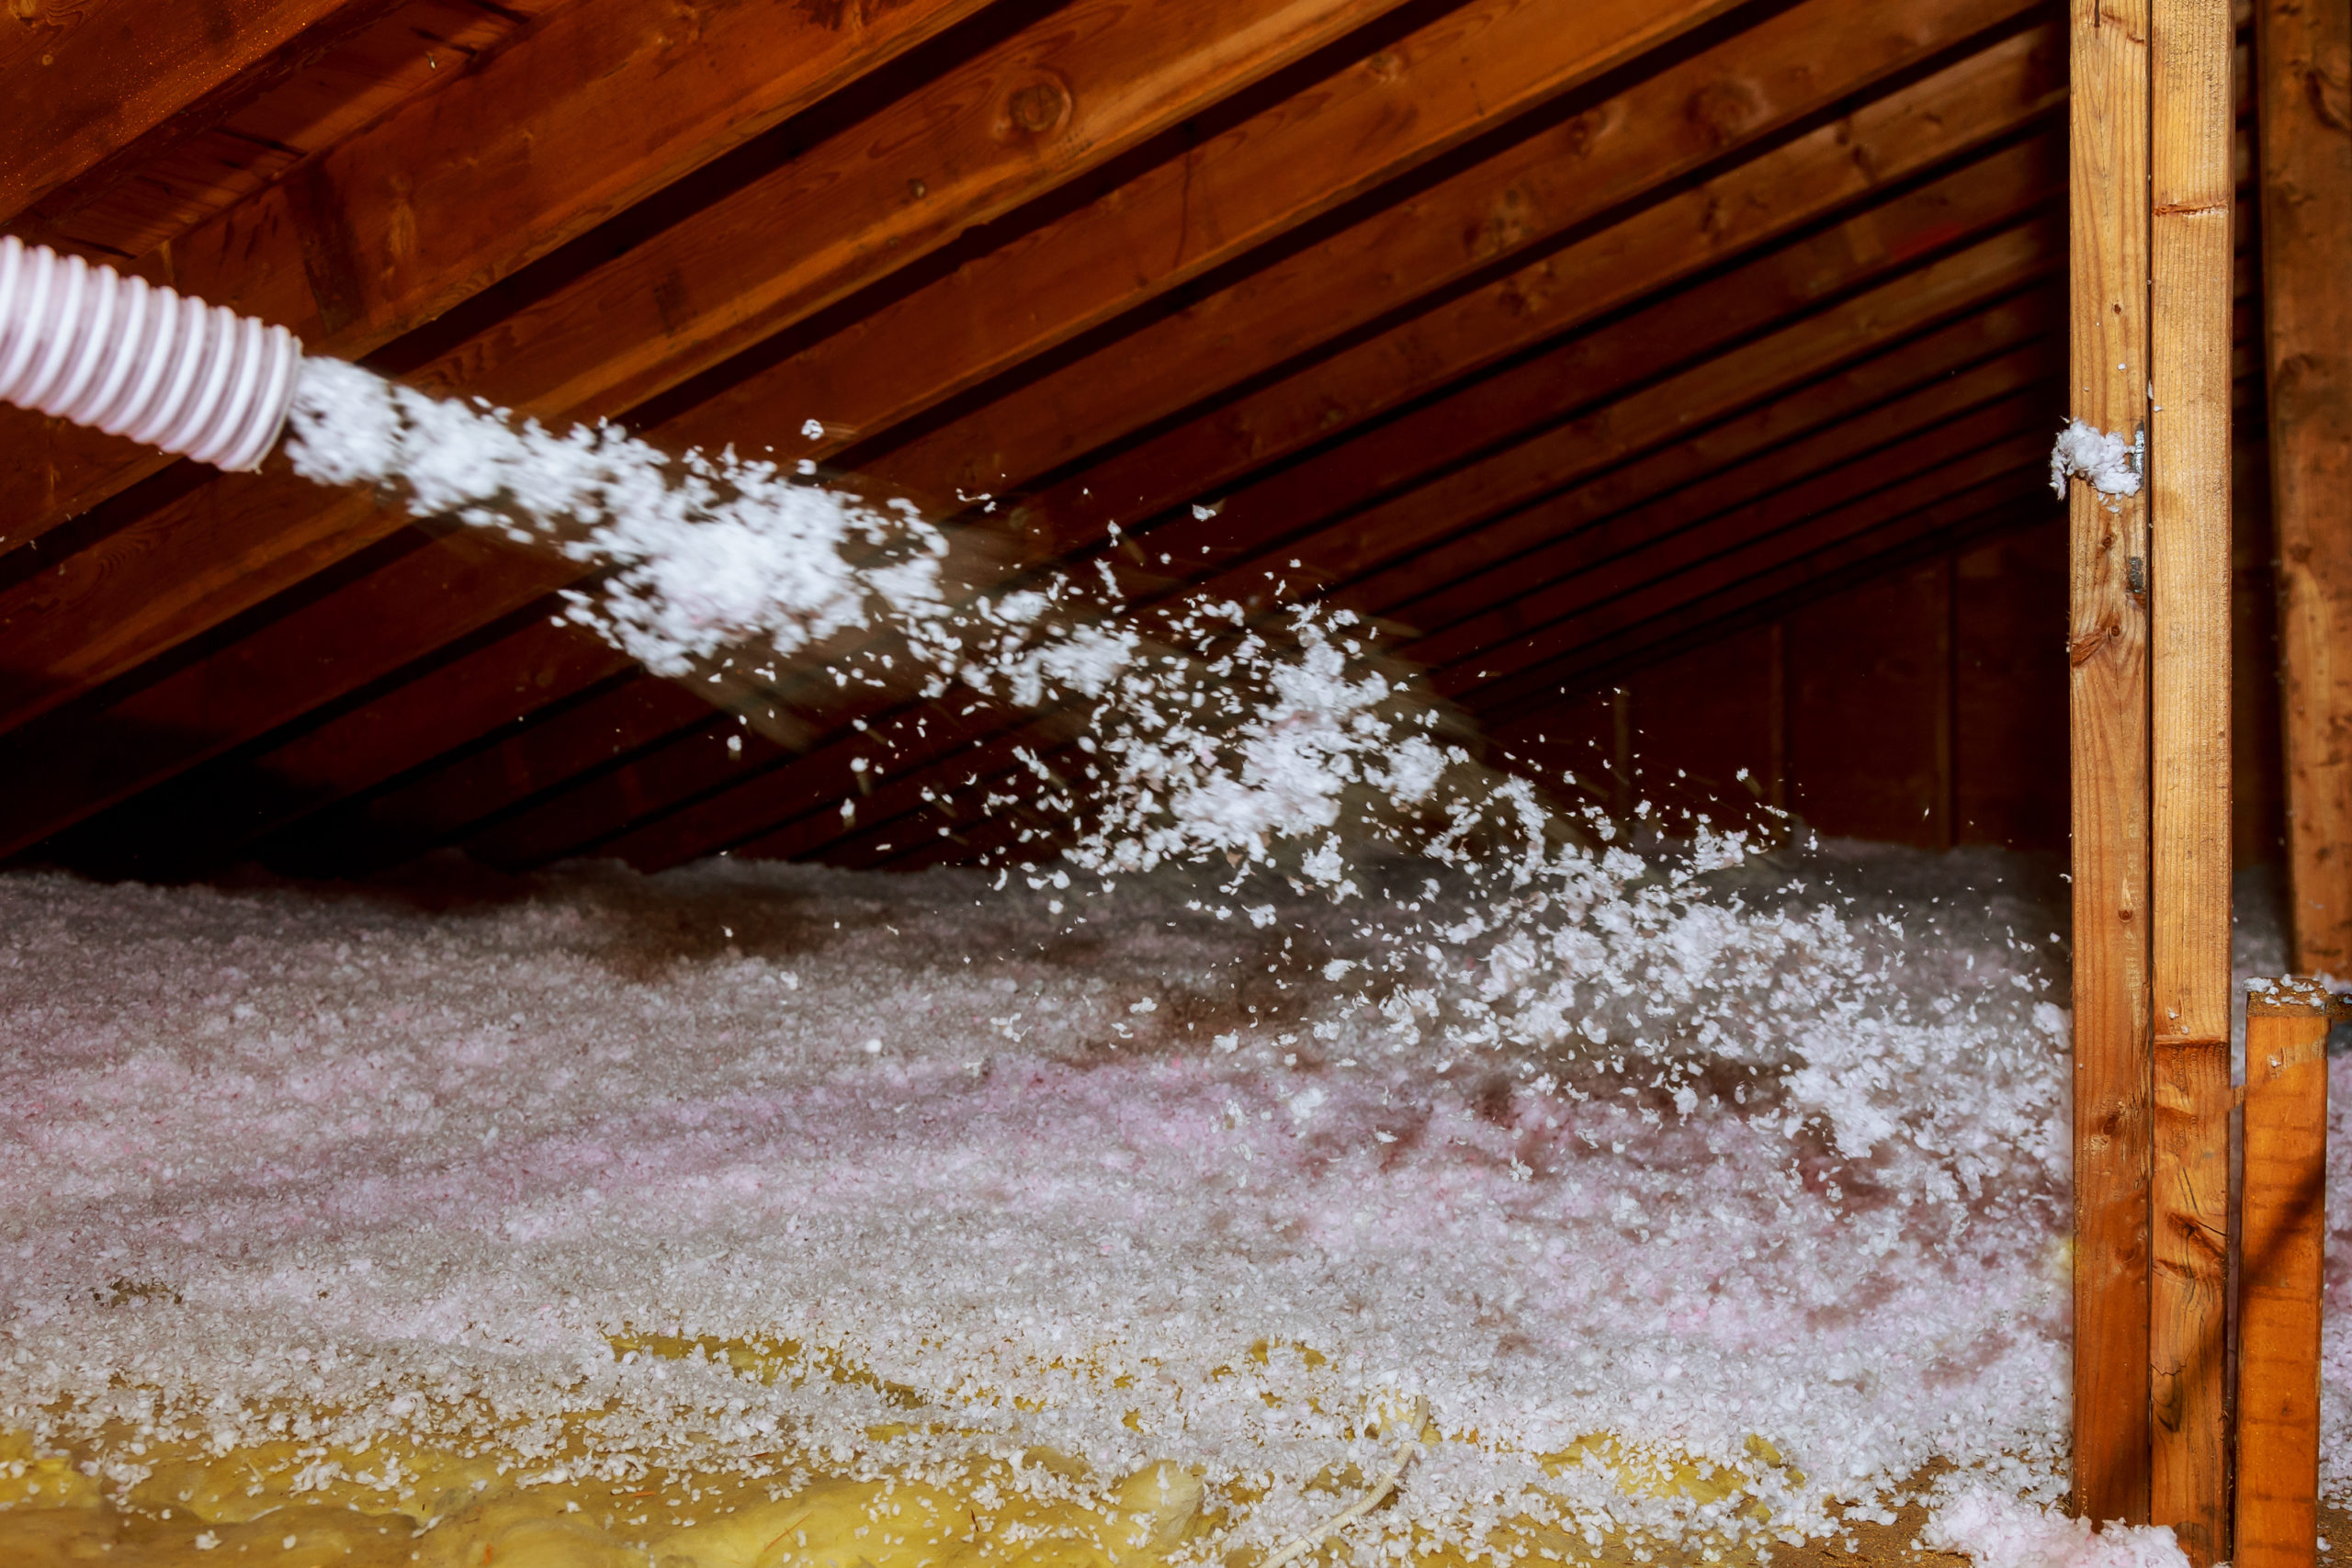
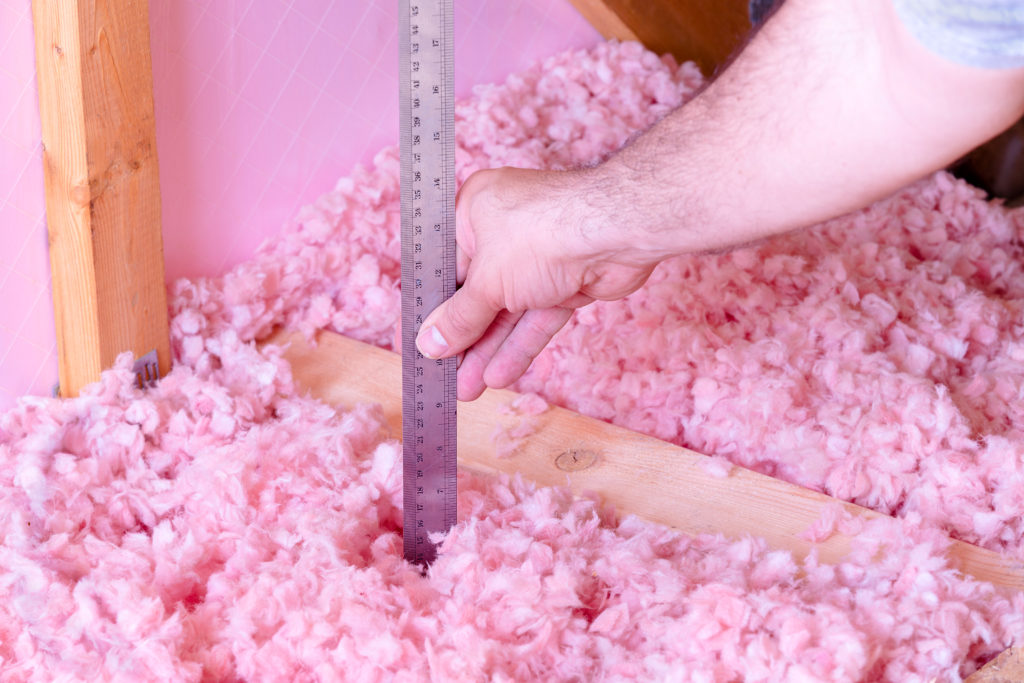
Blown-in Insulation
Blown-in insulation is a lightweight and cost-effective insulation solution made of loose-fill materials, such as fibreglass or cellulose, blown into attics, walls, and hard-to-reach spaces. It effectively fills gaps and cavities, improving thermal resistance (R-value) and reducing energy loss.
Read More Here: Our blown-in insulation services
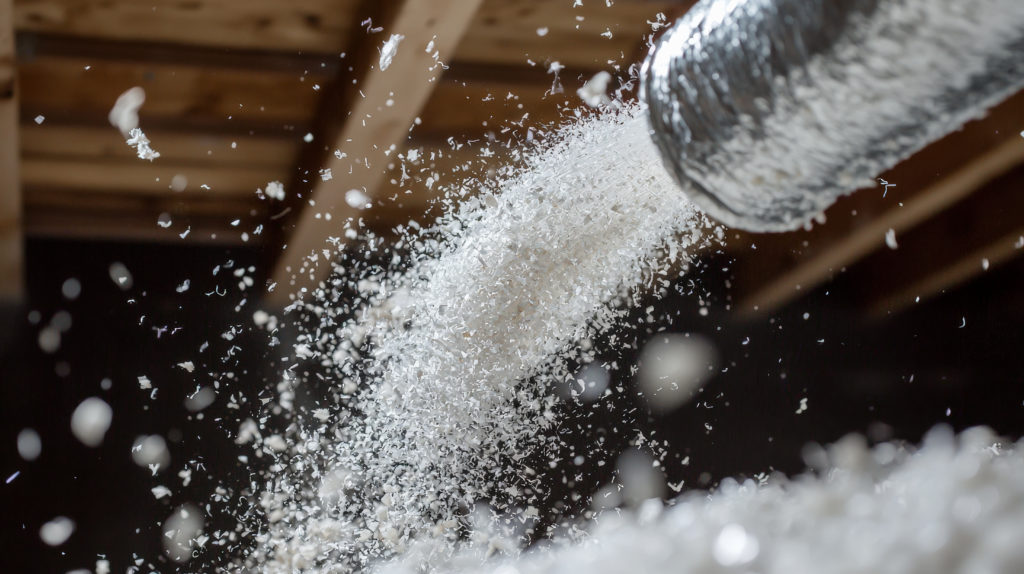
Fiberglass Blown-in Insulation
Fiberglass Blown-in insulation is lightweight and cost-effective, providing an R-value of around 2.5 per inch. Its best use cases are large attics, open spaces, and situations with less weight-bearing capacity.
Cellulose Blown-in Insulation
Cellulose Blown-in insulation is made from recycled paper and treated to resist mold, moisture, and fire. With an average R-value of 3.7 per inch, it provides superior thermal insulation. For eco-conscious homeowners, this is an excellent choice for improving energy efficiency in attics and walls.
Pro Tip: Combining spray foam and blown-in insulation delivers the best results. Spray foam seals air leaks and moisture points, while blown-in insulation fills gaps for maximum efficiency.

Why Insulate Crawl Space Vents in Winter?
Crawlspaces are often overlooked, yet they are a major source of heat loss. If uninsulated, these areas can act like open windows, allowing warm air to escape and chilly air to enter.
How Spray Foam Helps in Crawlspaces?
- Air Sealing: Creates a tight seal, eliminating drafts and cold spots.
- High R-Value: Ensures maximum heat retention, keeping floors above crawlspaces warm.
- Durability: Spray foam is resistant to moisture, mould, and pests, providing long-lasting protection.
Did you know insulating crawlspace vents can improve overall heating efficiency by up to 15-20%, especially in older homes?
Can Spray Foam Insulation Be Installed During Winter?
Yes! Spray foam insulation is versatile enough to be installed even in freezing conditions. However, in temperatures below 0 degrees, heat needs to be pumped into the installation areas. For best results, experts recommend maintaining a temperature above 5 degrees centigrade for effective chemical reaction and maximum adhesion to the applied surface. Thermo Solutions uses specialized equipment to ensure proper application and curing in winter weather.
Home Insulation Tips for Winter
To get the most out of your insulation, combine it with other energy-saving strategies:
- Seal Windows and Doors: Use weatherstripping to prevent drafts.
- Upgrade Your Thermostat: Install a programmable thermostat for efficient heating schedules.
- Add Insulated Curtains: Reduce heat loss through windows.
- Service your Heating & Air conditioning: It’s important to have periodic servicing of these systems.
- Inspect Your Attic Insulation: Ensure there is enough insulation to prevent heat from escaping through the attic.
- Inspect Wall Insulation: Ensure your walls have uniform R-value insulation without gaps and leaks.
Why Choose Thermo Solutions For Your Home Insulation Installations
Experienced Professionals: Decades of expertise in insulation.
Experience you can rely on!
Customized Solutions: Tailored to your home’s specific needs.
No one solution fits all!
Flexible Scheduling: We work according to your scheduling requirements.
We will be there when you need us!
Honesty & Integrity: We quote exactly what you need.
Nothing Less & Nothing More!
Quality Guarantee: We meet the highest industry quality standards. If anything does not meet the quality standards,
We return and fix it. Period!